Getting started with your Raspberry Pi
To get started with your Raspberry Pi, you’ll need the following:
- a power supply
- boot media (e.g. a microSD card with ample storage and speed)
You can set up your Raspberry Pi as an interactive computer with a desktop, or as a headless computer accessible only over the network. To set your Raspberry Pi up headless, you don’t need any additional peripherals: you can preconfigure a hostname, user account, network connection, and SSH when you install an operating system. If you want to use your Raspberry Pi directly, you’ll need the following additional accessories:
- a display
- a cable to connect your Raspberry Pi to your display
- a keyboard
- a mouse
Power supply
The following table shows the USB-PD power mode required to power various Raspberry Pi models. You can use any high-quality power supply that provides the correct power mode.
| Model | Recommended power supply (voltage/current) | Raspberry Pi power supply |
|---|---|---|
| Raspberry Pi 500+ | 5V/5A | 27 W USB-C power supply |
| Raspberry Pi 5 and Raspberry Pi 500 | 5V/5A, 5V/3A limits peripherals to 600mA | 27 W USB-C power supply |
| Raspberry Pi 4 Model B and Raspberry Pi 400 | 5V/3A | 15 W USB-C power supply |
| Raspberry Pi 3 (all models) | 5V/2.5A | 12.5 W Micro USB power supply |
| Raspberry Pi 2 Model B | 5V/2.5A | 12.5 W Micro USB power supply |
| Raspberry Pi 1 (all models) | 5V/2.5A | 12.5 W Micro USB power supply |
| Raspberry Pi Zero (all models) | 5V/2.5A | 12.5 W Micro USB power supply |
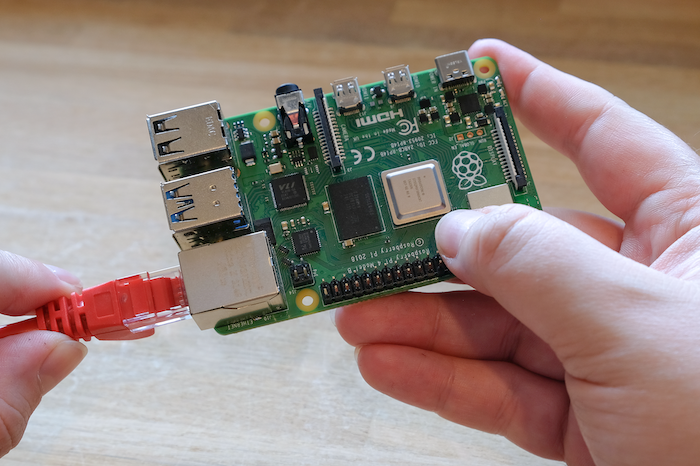
Plug your power supply into the port marked “POWER IN”, “PWR IN”, or “PWR”. Some Raspberry Pi models, such as the Zero series, have output USB ports with the same form factor as the power port. Be sure to use the correct port on your Raspberry Pi!
Boot media
Raspberry Pi models lack onboard storage, so you have to supply it. You can boot your Raspberry Pi from an operating system image installed on any supported media: microSD cards are used commonly, but USB storage, network storage, and storage connected via a PCIe HAT are also available. However, only recent Raspberry Pi models support all of these media types.
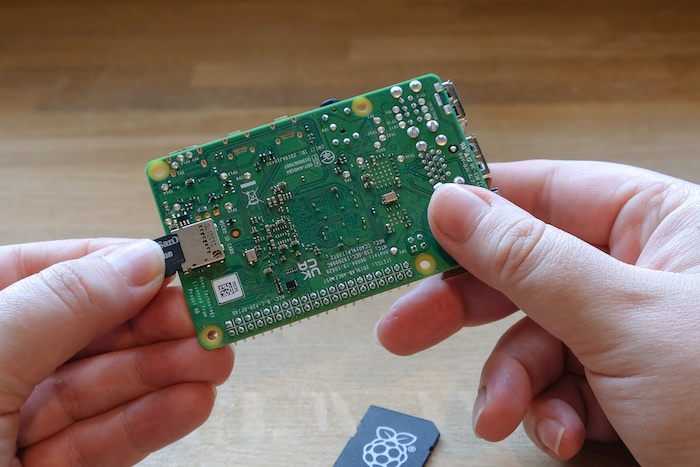
All Raspberry Pi consumer models since the Raspberry Pi 1 Model A+ feature a microSD slot. Your Raspberry Pi automatically boots from the microSD slot when the slot contains a card.
Recommended SD cards
We recommend using an SD card with at least 32 GB of storage for Raspberry Pi OS installations. For Raspberry Pi OS Lite, we recommend at least 16 GB. You can use any SD card with a capacity of less than 2 TB. Capacities above 2 TB are currently not supported due to limitations in the MBR. As with any other boot media, you’ll see improved performance on SD cards with faster read and write speeds.
If you’re unsure which SD card to buy, consider Raspberry Pi’s official SD cards.
Because of a hardware limitation, the following devices will only boot from a boot partition of 256 GB or less:
- Raspberry Pi Zero
- Raspberry Pi 1
- early Raspberry Pi 2 models with the BCM2836 SoC
Other operating systems have different requirements. Check the documentation for your operating system for capacity requirements.
Keyboard
You can use any of the USB ports on your Raspberry Pi to connect a wired keyboard or USB Bluetooth receiver.

Mouse
You can use any of the USB ports on your Raspberry Pi to connect a wired mouse or USB Bluetooth receiver.

Display
Raspberry Pi models have the following display connectivity:
| Model | Display outputs |
|---|---|
| Raspberry Pi 5, Raspberry Pi 400, Raspberry Pi 500, and Raspberry Pi 500+ | 2× micro HDMI |
| Raspberry Pi 4 Model B | 2× micro HDMI, audio and composite out via 3.5 mm TRRS jack |
| Raspberry Pi 3 (all models) | HDMI, audio and composite out via 3.5 mm TRRS jack |
| Raspberry Pi 2 Model B | HDMI, audio and composite out via 3.5 mm TRRS jack |
| Raspberry Pi 1 Model A+ and Model B+ | HDMI, audio and composite out via 3.5 mm TRRS jack |
| Raspberry Pi 1 Model A and Model B | HDMI, audio out via 3.5 mm TRRS jack, composite out via phono jack |
| Raspberry Pi Zero (all models) | mini HDMI, composite out via solder-pads |
| Note | No Raspberry Pi models support video over USB-C (DisplayPort alt mode). |
If your Raspberry Pi has more than one HDMI port, plug your primary monitor into the port marked HDMI0.
Most displays don’t have micro or mini HDMI ports. However, you can use a micro-HDMI-to-HDMI cable or mini-HDMI-to-HDMI cable to connect those ports on your Raspberry Pi to any HDMI display. For displays that don’t support HDMI, consider an adapter that translates display output from HDMI to a port supported by your display.


Add comment